
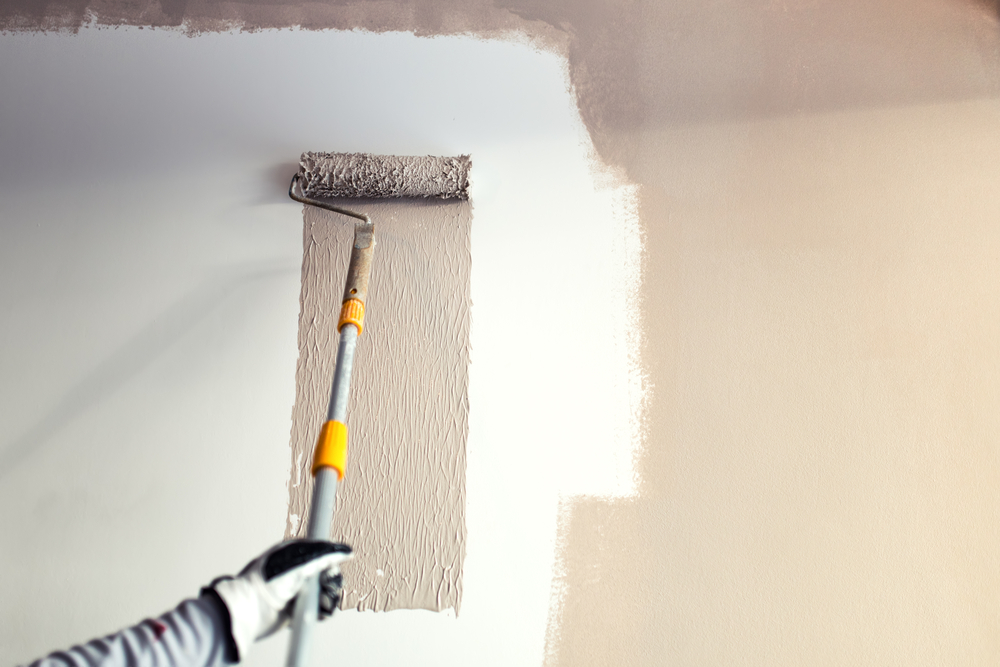
Ready to transform your living spaces into vibrant, inviting environments? Garlick’s H Hardware is here to help, we’re your trusted partner in all things DIY. We’re here to guide you through the exciting world of house painting. Whether you’re in the heart of Muswellbrook, NSW, or beyond, this comprehensive beginner’s guide will help you unleash your inner painter and achieve professional-quality results.
Preparation: Setting the Stage for Success
Before you dip your brush into that fresh can of paint, proper preparation is key. Here’s a checklist to ensure you’re ready to tackle your house painting project with confidence:
- Gather Your Supplies:
- Paint (choose interior or exterior paint based on your project)
- Brushes and rollers of various sizes
- Painter’s tape
- Drop cloths to protect floors and furniture
- Sandpaper and putty knife for surface preparation
- Surface Preparation:
- Clean walls to remove dirt, dust, and grease
- Patch any holes or imperfections with putty
- Sand rough areas for a smooth finish
Choosing the Right Paint and Colour
With a wide array of paint types and colours available, making the right choice can be overwhelming. Here’s a simplified breakdown to help you decide:
- Paint Types:
- Water-based paints are easy to clean up and emit fewer fumes.
- Oil-based paints offer a more durable finish, perfect for high-traffic areas.
- Colour Selection:
- Consider the room’s lighting and purpose. Lighter colours can make a space feel larger, while bold colours can add personality.
- Grab paint samples and test them on a small area of the wall to see how they look in different lighting conditions.
Techniques for a Polished Finish
Now that your walls are prepped and your paint selected, it’s time to apply those brushstrokes! Here are some fundamental techniques to master:
- Cutting-In:
- Use painter’s tape to create clean edges along trim, ceilings, and corners.
- Use a smaller brush for precise work and go slowly for the best results.
- Rolling the Paint:
- Rollers cover large areas quickly. Use a roller tray to evenly distribute paint.
- Start from the top and work your way down, maintaining a “W” or “M” pattern for even coverage.
- Multiple Coats:
- Most projects require at least two coats of paint for a consistent finish.
- Allow each coat to dry thoroughly before applying the next.
Finishing Touches: Wrapping Up Your Project
As your paint dries and your project nears completion, follow these final steps:
- Remove Painter’s Tape:
- Carefully peel off the painter’s tape while the paint is still slightly wet to avoid any peeling.
- Clean Your Tools:
- Clean brushes, rollers, and trays with water (for water-based paint) or paint thinner (for oil-based paint) before they dry.
With Garlick’s H Hardware’s expert guidance and your newfound knowledge, you’re well on your way to transforming your living spaces and experiencing the satisfaction of a job well done!
Speak to the Experts
For quality paint, bushes and expert advice, speak to our friendly team at Garlick’s H Hardware today. Drop by our Muswellbrook shop or browse our product range online. You can also phone us on (02) 6543 2139 or send us an email. We’re here to help!